


Travel photography is more than just snapping pictures; it’s an art form that allows you to capture the essence of a place, its people, and the emotions you experience on the road. Whether you’re exploring bustling city streets, tranquil mountain trails, or remote coastal villages, the right approach to gear, composition, lighting, and post-processing can turn ordinary snapshots into extraordinary memories. This comprehensive guide will walk you through every step—from selecting your camera to editing your final shots—so you can return from your next trip with a stunning visual narrative.
Choosing the Right Camera Gear
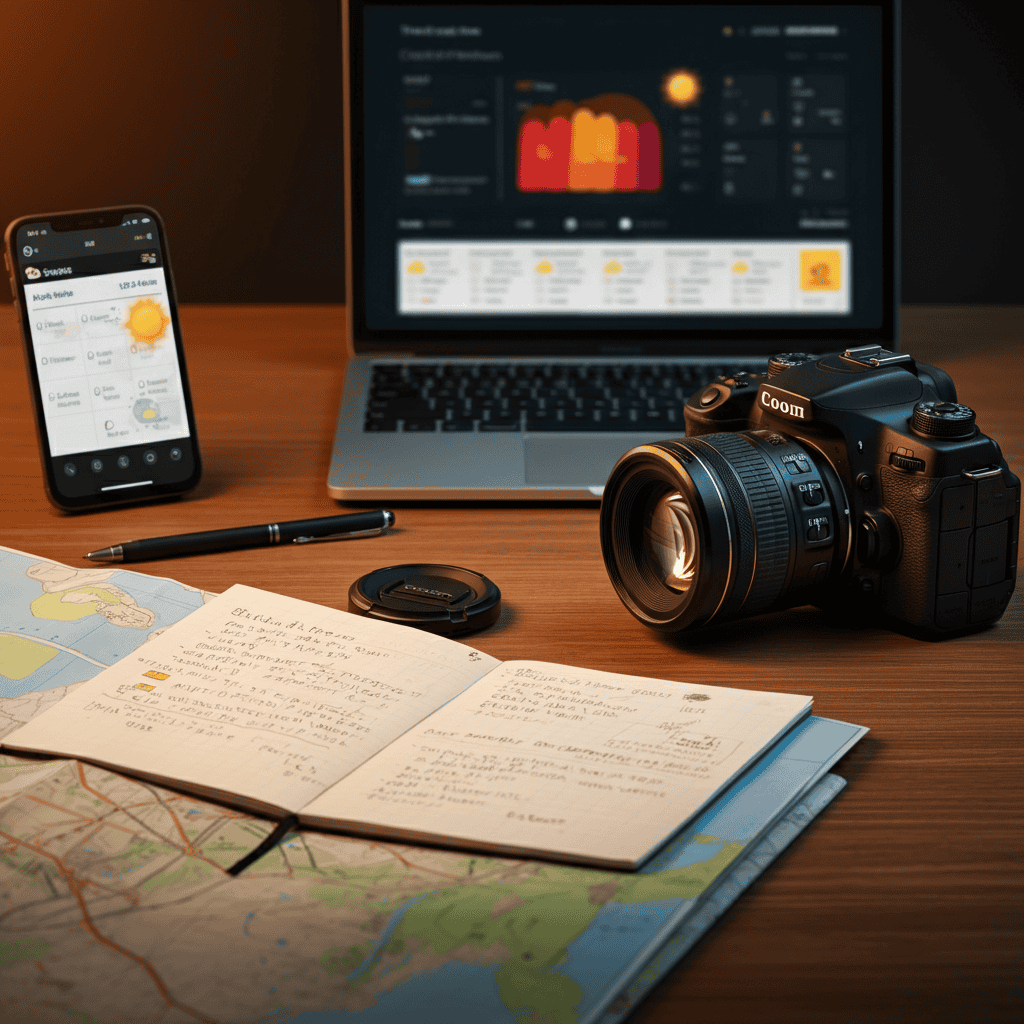
Your choice of equipment sets the foundation for every photograph you take. While smartphones have improved dramatically, dedicated cameras still offer greater flexibility, manual control, and superior image quality—especially in challenging lighting conditions.
- Mirrorless vs DSLR: Mirrorless systems are lighter and more compact, with fast autofocus and electronic viewfinders. DSLRs provide robust battery life and a wide range of lens options. Choose based on weight preferences and lens availability.
- Lens Selection: A versatile zoom (e.g., 24–70mm) covers landscapes and portraits. A prime lens (e.g., 35mm or 50mm) offers wide apertures for low-light scenes and blurred backgrounds. Consider a telephoto lens (e.g., 70–200mm) for wildlife or distant details.
- Essential Accessories:
- Extra batteries and memory cards
- Lightweight travel tripod for long exposures
- Lens cleaning kit and weather protection
- Portable hard drive or cloud backup solution
Mastering Composition to Tell a Story
A technically perfect photo can still feel flat without thoughtful composition. Learn to guide the viewer’s eye and evoke emotion through well-planned framing.
- Rule of Thirds: Divide your frame into thirds both horizontally and vertically. Position key elements along these lines or at their intersections to create balanced, dynamic images.
- Leading Lines: Use roads, fences, rivers, or architectural elements to draw the viewer’s gaze toward your main subject.
- Framing: Frame subjects using doorways, archways, foliage, or shadows to add depth and context.
- Perspective and Angles: Experiment with low angles, high viewpoints, and unconventional perspectives to make familiar scenes look fresh.
- Negative Space: Embrace empty areas around your subject to convey scale and focus attention.
Planning and Research for Iconic Shots
Great travel photos often happen long before you press the shutter. Research your destination’s landmarks, cultural events, and local customs to anticipate compelling scenes.
- Golden Hour and Blue Hour: Identify sunrise and sunset times using a reliable sunrise and sunset calculator. The soft, warm glow of golden hour and the cool hues of blue hour can transform ordinary landscapes into breathtaking compositions.
- Local Festivals and Traditions: Scout dates and locations for parades, markets, or ceremonies. Arrive early for unique angles and to secure a good vantage point.
- Photography Permits: In some areas—national parks, sacred sites, or government buildings—you may need permits or fees. Plan ahead to avoid surprises.
- Weather and Seasonal Variations: Check forecasts and seasonal patterns. Snow, rain, or dramatic cloud formations can become powerful storytelling tools.
Harnessing Light and Timing
Light is the most critical element in photography. Learning to read and manipulate natural light can elevate your images from mundane to mesmerizing.
- Front Lighting vs Backlighting: Front lighting evenly illuminates subjects, while backlighting creates silhouettes and dramatic contrast. Experiment with both to see which fits your vision.
- Silhouettes and Sunbursts: Position the sun just behind your subject to craft striking silhouettes or use a small aperture (f/16–22) to create star-like sunbursts.
- Night and Low-Light Photography: Use a tripod, wide aperture lenses, and higher ISO settings to capture cityscapes, star trails, or illuminated landmarks after dark.
- Capturing Motion: Slow shutter speeds (1/30s or slower) can blur waterfalls, traffic trails, or dancing crowds. Conversely, fast shutter speeds freeze action—ideal for wildlife or sports.
Editing and Post-Processing Tips
Post-processing is where your images truly come to life. The goal is to enhance without overdoing it, preserving authenticity while emphasizing mood and detail.
- Shoot RAW: RAW files retain maximum data, giving you greater latitude for adjustments in exposure, white balance, and color grading.
- Software Selection: Choose editing tools like Adobe Lightroom, Capture One, or free alternatives such as Darktable. Master basic controls: exposure, contrast, highlights, shadows, and color temperature.
- Lens Corrections and Sharpness: Apply profile-based lens corrections to remove distortion and vignetting. Use clarity and sharpening sliders to accentuate details—but avoid creating unwanted halos.
- Subtle Color Grading: Experiment with split toning or HSL adjustments to create a cohesive mood. Keep skin tones natural and landscape hues believable.
- Cropping and Straightening: Fine-tune framing in post by straightening horizons and cropping distractions. Aim for balanced compositions that respect your original vision.
Conclusion: Crafting Your Visual Story
Mastering travel photography is an ongoing journey of exploration, experimentation, and learning. When combined with travel journaling, your photos become more than just images—they evolve into rich, personal narratives that reflect your experiences, thoughts, and emotions. Armed with the right gear, a solid understanding of composition, thoughtful planning, and effective editing techniques, you’re ready to capture the spirit of every destination you visit. So charge your batteries, pack your lenses, and embark on an adventure where every frame tells a story. Happy shooting!
Learn more about: Digital Detox Travel: 8 Best Destinations to Unplug and Reconnect


